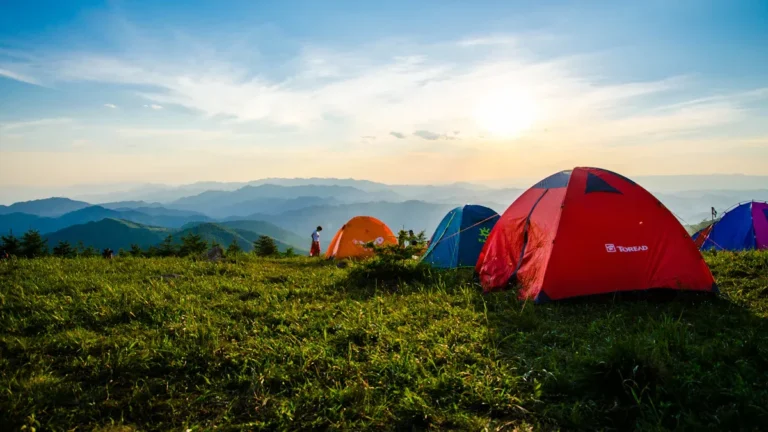
Choosing the right trails is crucial for beginners when you choose MTB trails. It ensures a safe and enjoyable experience. You should consider your skill level, trail ratings, and personal preferences. Start with easy loops and gradually progress to more challenging trails. This way, you build confidence and enjoy the ride.
Here are some benefits of starting on beginner-friendly trails:
Mindfulness: Focus on the present and reduce distractions.
Self-Esteem: Achieve goals and boost confidence.
Community Connection: Meet fellow riders and build a supportive network.
Nature Immersion: Enjoy the mood-enhancing effects of nature.
Exercise Benefits: Release endorphins to improve your mood.
Key Takeaways
Understand trail ratings to choose paths that match your skill level. This knowledge ensures a safer and more enjoyable ride.
Look for beginner-friendly features like smooth terrain and gentle slopes. These characteristics help build confidence and improve your skills.
Assess your skills honestly before hitting the trails. Knowing your abilities helps you select the right trails and enhances your overall experience.
Trail Ratings
Understanding Ratings
Trail ratings are essential for you as a beginner mountain biker. They provide a clear indication of the difficulty level of a trail, helping you choose MTB trails that match your skills. Understanding these ratings can make your riding experience safer and more enjoyable.
When you look at trail ratings, you’ll find that they typically categorize trails based on various factors. These include the trail’s surface type, elevation changes, and obstacles. By knowing what to expect on the trails, you can select routes that suit your comfort level and skill set.
Common Systems
Several trail rating systems exist worldwide, each designed to help you gauge the difficulty of a trail. Here are some of the most widely used systems:
IMBA Scale: Common in North America, this system categorizes trails into five levels based on technical challenge.
Singletrack Scale (STS): Frequently used in Europe and other regions, this scale also rates trails based on difficulty.
International Trail Rating System (ITRS): This system provides a global standard for trail ratings.
Understanding these systems is crucial for beginners. For example, the IMBA scale focuses solely on technical challenges, while local systems may adapt these ratings to include fitness levels. This means that trail ratings can vary significantly depending on where you ride.
To give you a clearer picture, here’s a table that outlines the different trail types and their descriptions:
Trail Type | Description |
|---|---|
Beginner | Smooth trails, average no more than 5% grade, obstacles no taller than a couple of inches. |
Intermediate | Variable surface, average 10% grade or less, obstacles up to eight inches tall. |
Advanced | Many features, average up to 15% grade, obstacles up to 15 inches tall. |
Expert | Highly variable, very steep, obstacles taller than 15 inches, technical features present. |
By familiarizing yourself with these ratings, you can make informed decisions about which trails to tackle. This knowledge helps you avoid trails that may be too challenging, ensuring a more enjoyable ride.
Trail Features for Beginners
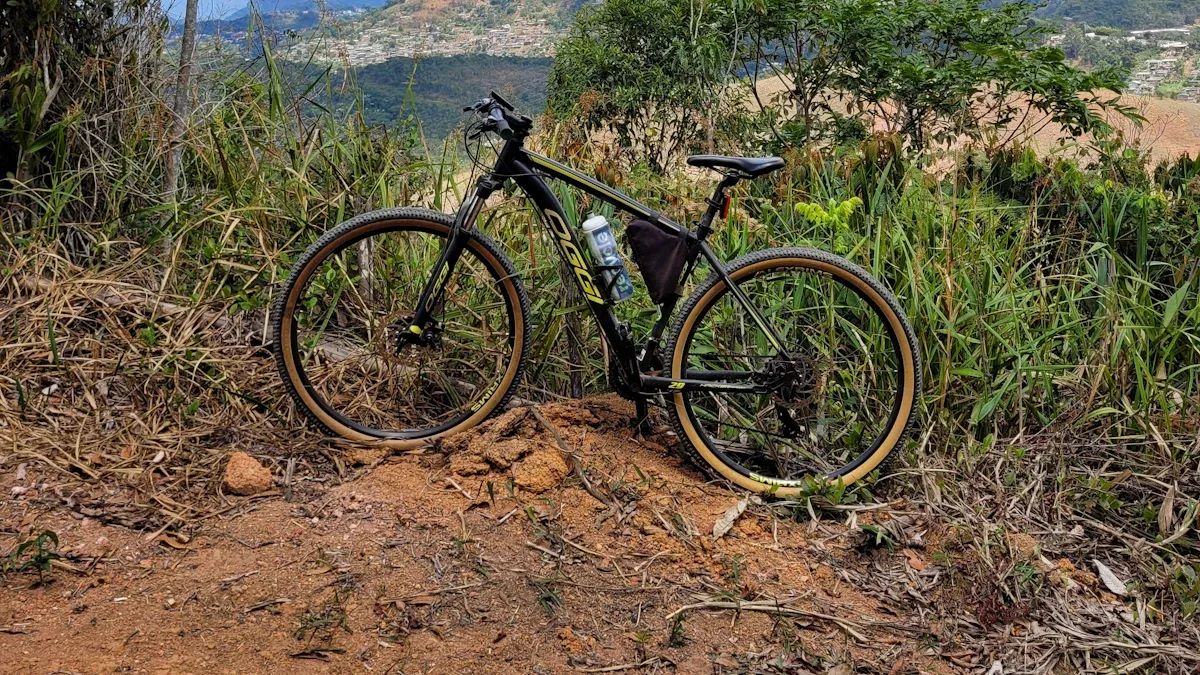
Key Features
When you’re looking for beginner-friendly trails, certain features can make all the difference. Here are some key characteristics to keep in mind:
Trail Rating: Look for trails marked with a green circle, indicating they are designed for beginners.
Path Width: Wider paths provide more space for you to maneuver, making it easier to ride without feeling cramped.
Terrain: Smooth terrain is ideal. It allows you to focus on your riding technique without worrying about rough surfaces.
Climbs and Descents: Mellow climbs and descents help you build confidence without overwhelming you.
Obstacles: Minimal or rollable obstacles, like small rocks or roots, can enhance your skills without posing a significant risk.
Here’s a quick table summarizing these features:
Feature | Description |
|---|---|
Trail Rating | Green (Beginner) |
Path Width | Wide paths |
Terrain | Smooth terrain |
Climbs and Descents | Mellow climbs and descents |
Obstacles | Minimal or rollable obstacles |
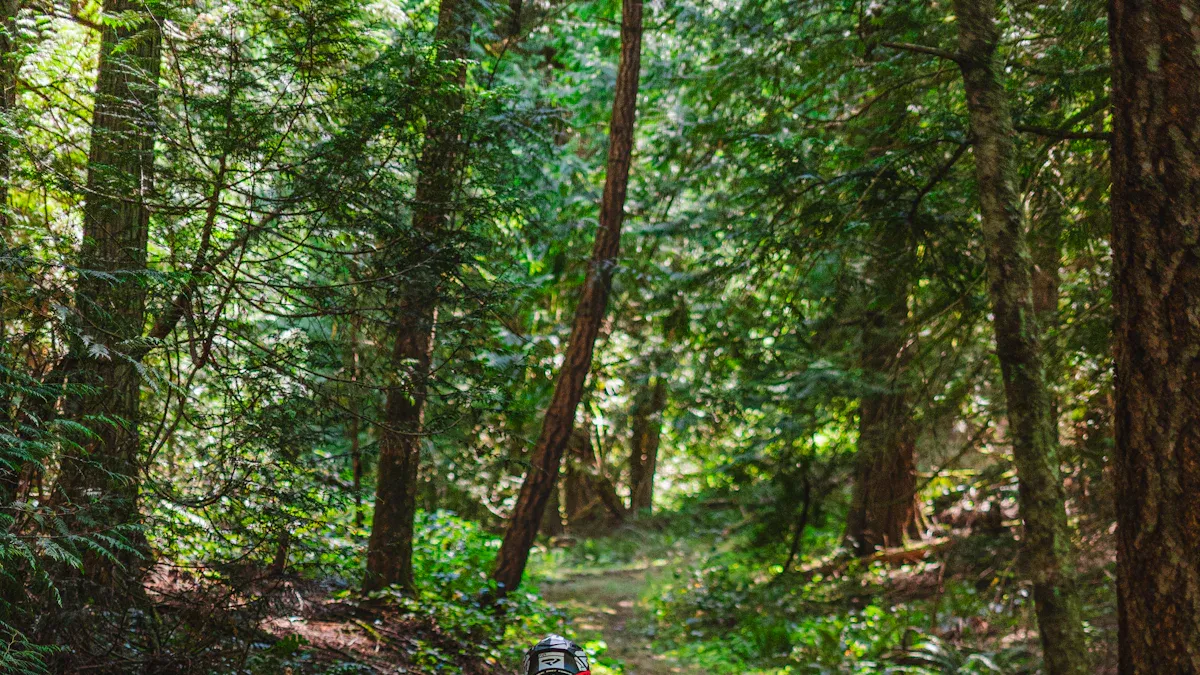
Terrain Types
The type of terrain you encounter plays a crucial role in your mountain biking experience. For beginners, certain terrains are more manageable and safer. Here are some terrain types you should consider:
Green Circle Trails: These trails are specifically designed for beginners. They feature low grades and wide paths, making them easy to navigate.
Flat Terrain: Riding on flat surfaces helps you gain confidence and control. It allows you to practice your balance without the added challenge of steep inclines.
Soft Surfaces: Trails with soft surfaces, like dirt or grass, can be more forgiving if you fall. They provide a cushion that hard surfaces do not.
While mild obstacles, such as small rocks or roots, can seem intimidating, they actually contribute to your skill development. Here’s how:
Reading the Trail: You’ll learn to anticipate and react to obstacles, which enhances your ability to navigate challenges.
Attack Position: Maintaining this posture keeps you balanced and ready to handle small obstacles effectively.
Remember, the goal is to enjoy your ride while gradually building your skills. By choosing trails with these beginner-friendly features, you set yourself up for a positive mountain biking experience.
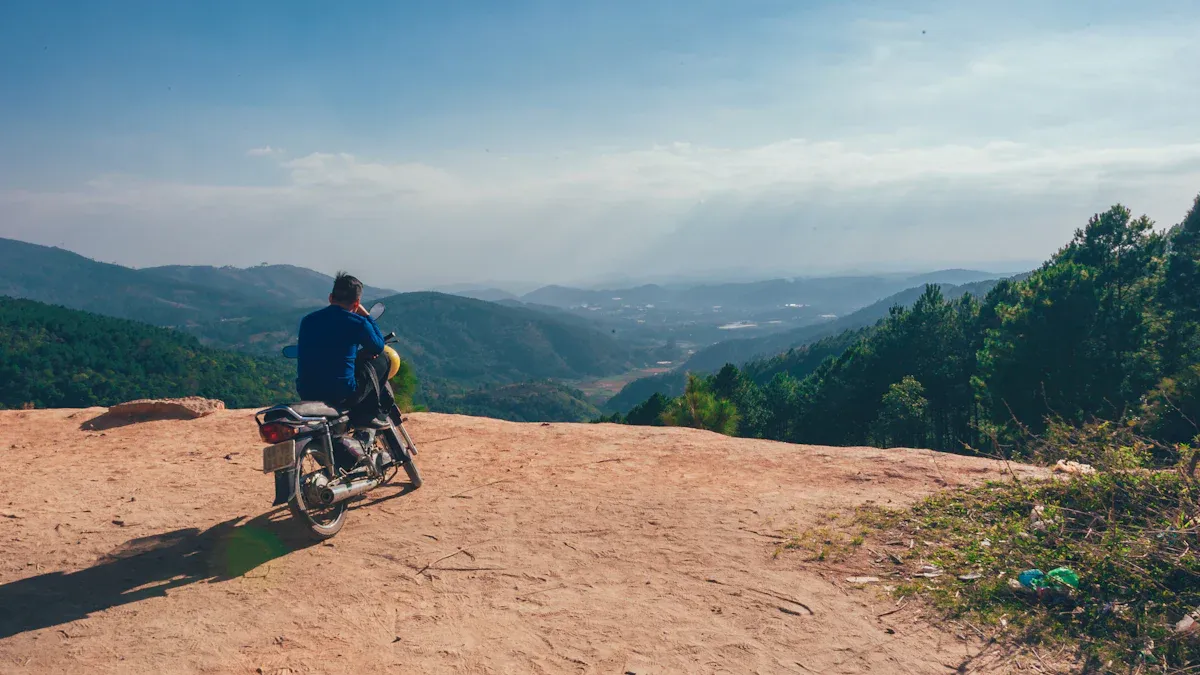
How to Start Mountain Biking
Self-Assessment Tips
Before you hit the trails, take a moment to assess your skills. Understanding your fitness and technical abilities is key to choosing the right trail. Here are some tips to help you gauge where you stand:
Read detailed descriptions of skill and fitness levels. This can give you a clearer picture of your abilities.
Check out guides like the one from H+I Adventures. They help you compare your experience with the requirements for different mountain biking adventures.
Reflect on your past experiences. Have you ridden a bike before? How comfortable do you feel on uneven surfaces?
Gradual Progression
Starting with easier trails is essential for building confidence and skills. Gradual progression helps you avoid accidents and enhances your riding experience. Here’s how to prepare for your first ride:
Prepare your gear: Use a checklist to ensure you have your helmet, gloves, and other essentials ready.
Pack essentials: Bring snacks, water, and a charged phone to stay safe and energized.
Mental preparation: Research the trail. Knowing its length and difficulty can boost your confidence.
Physical preparation: Wake up early, eat a good breakfast, and do some dynamic stretching to get your body ready.
Dressing routine: Change into your riding clothes in a specific order to help get into the right mindset.
Warm-up: A proper warm-up routine can prepare your body for the ride ahead.
Also, remember to check your bike before each ride. Ensure your tire pressure is right, lubricate the chain, and fill your water bottle. Following these mountain biking tips will set you up for success!
As you gain experience, gradually tackle more challenging trails. This approach allows you to build skills without feeling overwhelmed. Enjoy the journey, and happy riding!
Choosing the right MTB trails is vital for your safety and enjoyment. Here are some key points to remember:
Understand trail ratings to select paths that match your skill level.
Look for beginner-friendly features like smooth terrain and gentle slopes.
Assess your skills honestly to ensure a positive experience.
Don’t hesitate to visit local bike shops. They can provide insights on trail conditions and recommend the best beginner trails. Take your time to find trails that suit you, and enjoy the ride! 🚴♂️🌲
FAQ
What should I wear for my first mountain biking trip?
Wear a helmet, comfortable clothing, and sturdy shoes. Don’t forget gloves for better grip!
How do I maintain my mountain bike?
Regularly check tire pressure, clean the chain, and inspect brakes. A well-maintained bike rides smoother!
Can I ride alone as a beginner?
While you can ride alone, it’s safer to go with a friend. Enjoy the experience together!