
Setting up a tent properly is crucial for a successful camping trip. You want to enjoy the great outdoors, not struggle with your shelter! Many beginners face challenges like picking the right tent type, finding a flat spot away from hazards, and having the right tools ready to set up a tent. But don’t worry-once you master these skills, you’ll feel a sense of accomplishment. Follow the steps outlined in this guide for a smooth setup experience, and soon, you’ll be the camping pro among your friends! 🌲🏕️
Prepare to Set Up a Tent
Choosing the Right Spot
Picking the right location for your tent can make or break your camping experience. You want a spot that’s not only comfortable but also safe. Here are some key factors to consider:
- Accessibility: Make sure the site is easy to reach. You don’t want to haul your gear too far.
- Terrain and Ground Condition: Look for flat, level ground free of rocks or debris. This will help you sleep better at night.
- Distance from Water: Set up camp at least 200 feet away from lakes and rivers. This keeps you safe from flooding and protects wildlife.
- Shelter from Wind and Rain: Use natural windbreaks like trees to shield your tent from harsh weather.
- Sunlight: Consider how much sunlight the area gets. A sunny spot can warm you up in the morning, but too much sun can make it hot during the day.
By keeping these factors in mind, you can ensure a comfortable and safe camping experience.
Gathering Essential Gear
Before you head out, gather all the gear you’ll need for a smooth setup. Here’s a checklist to help you out:
- Tent Body: Make sure you have the main part of your tent.
- Poles and Stakes: These are crucial for keeping your tent upright.
- Rainfly: This protects you from unexpected rain.
- Footprint or Tarp: Use this to protect the bottom of your tent.
- Repair Kit: Always good to have in case of any damage.
- First Aid Kit: Safety first! You never know when you might need it.
Organizing your gear at home can save you time and stress at the campsite. Consider using labeled bins for easy transport. You can even practice setting up your tent in your backyard. This way, you’ll be familiar with the setup instructions when you’re out in the wild.
With the right spot and gear, you’re well on your way to a successful camping trip!
Tent Setup Steps
Laying Out the Footprint
Before you start setting up your tent, lay out the footprint or tarp. This step is crucial for protecting your tent floor from damage. A footprint acts as a barrier against sharp rocks and sticks, which can cause punctures. It also helps keep moisture from seeping in during wet conditions. Here’s how to do it:
- Position the Footprint: Place the footprint on the ground where you plan to set up your tent. Make sure it’s flat and free of debris.
- Check the Size: Ensure the footprint is slightly smaller than the tent floor. This prevents water from pooling underneath your tent, keeping it dry and comfortable.
Using a footprint not only extends the life of your tent but also makes packing up easier. You’ll find it much simpler to keep the tent floor clean when you have a protective layer underneath.
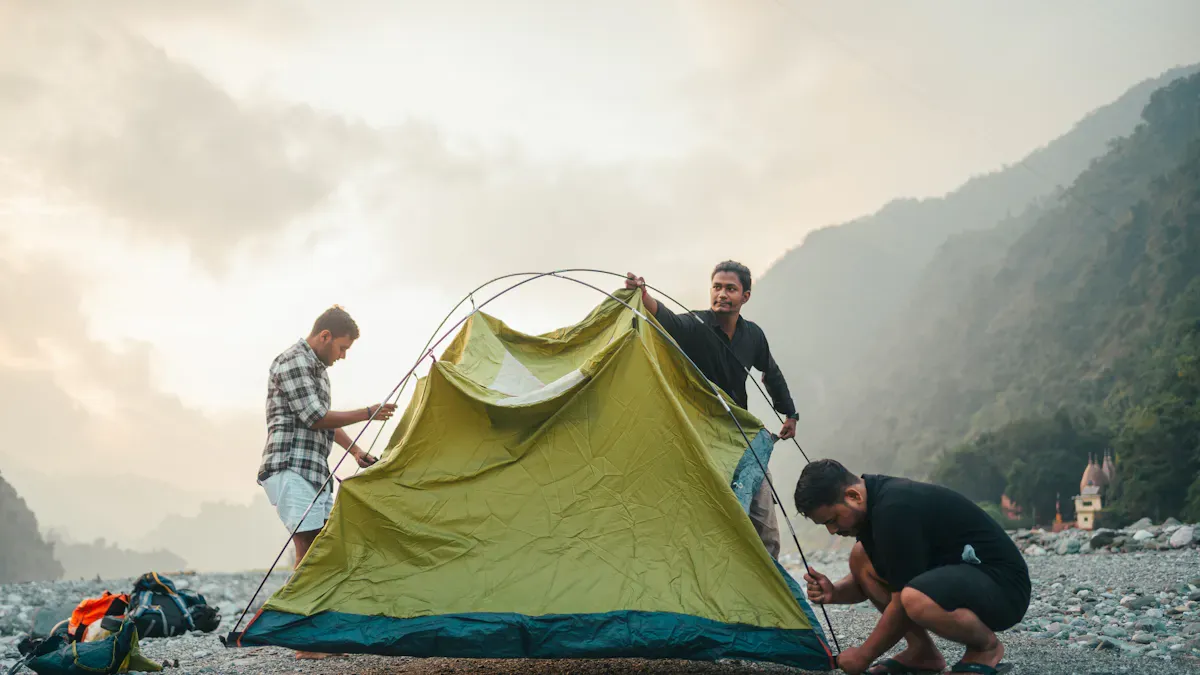
Assembling the Tent Poles
Next, it’s time to assemble the tent poles. Follow these step-by-step instructions to make this process smooth:
- Organize Your Poles: Sort the poles by size and type. Group them according to their function in the tent structure.
- Check the Manual: Refer to your tent’s instruction manual to ensure you have all the necessary parts.
- Connect the Poles: Start connecting the poles, securing joints and fittings. Make sure everything is aligned properly.
- Raise the Frame: Carefully lift the assembled frame. Coordinate your movements to distribute weight evenly.
Remember, aluminum poles are generally easier to work with than fiberglass ones. They’re lightweight and durable, making them a popular choice for many campers.
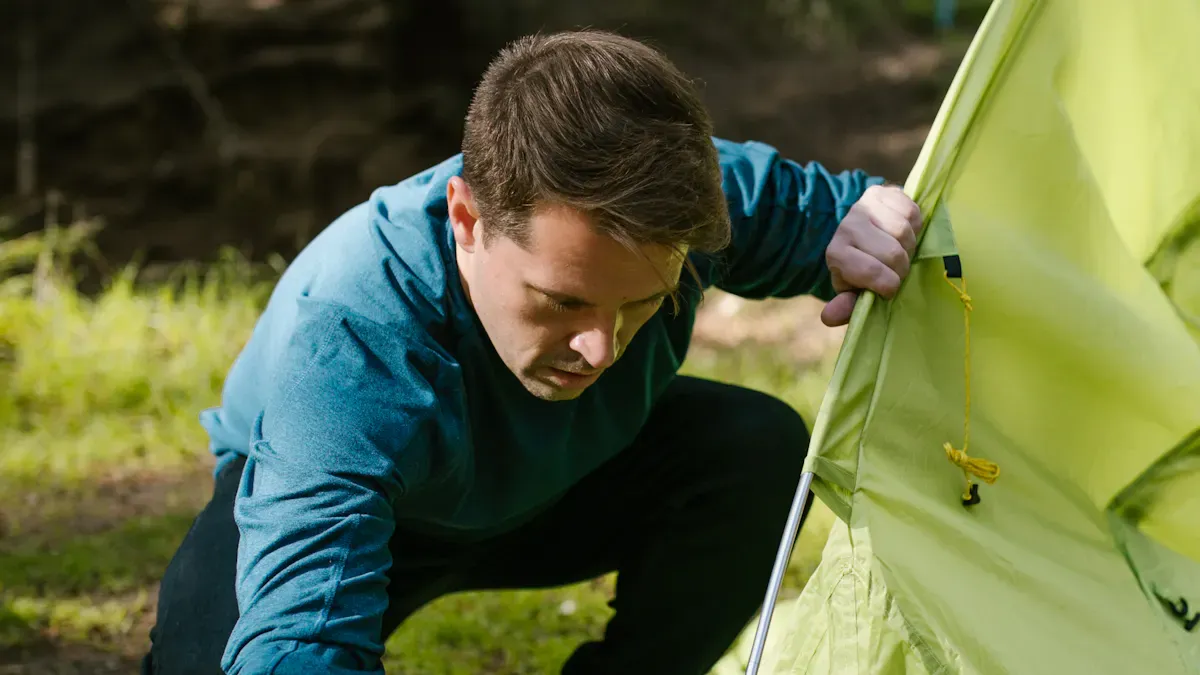
Attaching the Tent Body
Now that your frame is up, it’s time to attach the tent body. This step is essential for ensuring your tent remains stable and secure. Here’s what to do:
- Drape the Tent: Lay the tent body over the frame. Make sure it’s centered and draped evenly.
- Secure the Tent: Attach the tent body to the poles using clips or sleeves. Ensure that everything is fastened tightly to maintain structural integrity.
- Check for Alignment: Look for any misalignments and adjust as needed. Proper alignment helps prevent wear and tear on the tent.
Using color-coded pole sections can help streamline this process and reduce errors. Also, lubricating pole segments occasionally can make assembly smoother.
Adding the Rain Fly
Finally, don’t forget to add the rain fly. This extra layer is vital for keeping you dry during unexpected rain showers. Here’s how to do it effectively:
- Position the Rain Fly: Drape the rain fly over the tent, ensuring it covers all areas.
- Secure It Tightly: Use ropes or bungee cords to tension the rain fly. This prevents sagging and ensures water flows off instead of pooling.
- Check Vents: Keep vents open to allow for ventilation. This is especially important in humid conditions to prevent condensation inside the tent.
By following these steps, you’ll create a sturdy and comfortable shelter for your camping adventure. Remember, practice makes perfect, so don’t hesitate to set up your tent a few times before your trip!
Tent Setup Techniques for Stability
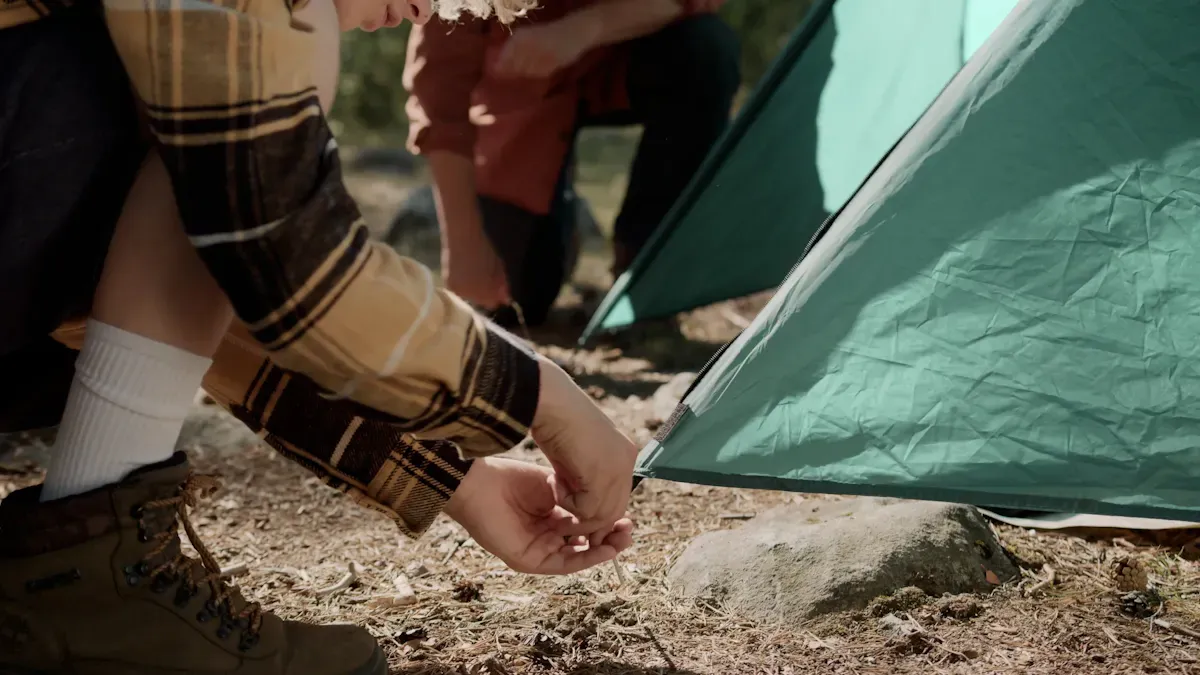
Securing with Stakes
To keep your tent stable, you need to use stakes. Here’s how to do it right:
- Choose the Right Stakes: Pick strong stakes that fit your tent type. For soft ground, longer stakes are best. In rocky places, use special stakes made for tough ground.
- Angle the Stakes: Push the stakes into the ground at a 45-degree angle. This helps them hold better and stops them from coming out easily.
- Use Guylines: Besides stakes, guylines add more stability. They help keep the tent’s shape and stop sagging. Here’s a quick look at the benefits of using guylines:AdvantageDescriptionStabilityKeeps the tent stable in wind and rain, stopping it from falling down.Shape MaintenanceStops sagging or changing shape, keeping it looking good and giving space.ProtectionReduces wear on the fabric by stopping it from flapping in the wind.
- Check Tension: After putting in the stakes and guylines, check the tension. Adjust if needed to keep your tent tight and secure.
By following these tips, you can secure the tent well and enjoy a stress-free camping trip.
Creating a Comfortable Sleeping Area
Getting a good night’s sleep is important for enjoying your camping trip. Here are some tips to make a cozy sleeping area inside your tent:
- Choose a Quiet Spot: Set up your tent away from busy areas and water. This cuts down on noise and helps you relax.
- Use Insulated Sleeping Pads: These pads stop cold from the ground and give you comfort. Look for pads with a higher R-value for better warmth. Here’s a quick guide:
- Summer camping (above 50°F): R-value 2-3
- Three-season camping: R-value 3-5
- Winter camping: R-value 5 or higher
- Select the Right Sleeping Bag: Pick a sleeping bag that fits the weather. A bag for colder weather will keep you warm at night.
- Dress in Layers: Managing your temperature is important. Wear layers and adjust your sleeping bag or tent setup as needed.
- Maintain a Bedtime Routine: Tell your body it’s time to sleep by sticking to a routine. This can help you fall asleep faster.
Also, tire yourself out during the day with activities like hiking or swimming. Eating dinner at least two hours before bed can help you feel more comfortable. Avoid caffeine in the afternoon to improve your sleep quality.
By using these techniques, you’ll create a comfy sleeping area that helps you recharge for your next day of fun!
Troubleshooting Tent Issues
Handling Wind and Rain
When strong winds and heavy rain hit, you need to act quickly to protect your tent. Here are some steps to follow:
- Organize Gear: Keep heavy items like your backpack nearby to weigh down the tent components.
- Prep Tent Poles: Set up the tent poles first to manage them in strong winds.
- Stake Out Tent: Stake the side facing the wind to secure the tent.
- Clip Poles Onto Tent: Weigh down the tent with poles and stake all corners.
- Attach Fly: Hold the fly against the wind to minimize flapping.
- Guy Out Tent: Ensure the tent and fly are tight to prevent damage.
By following these steps, you can keep your tent stable and secure even in challenging weather conditions.
Fixing Tent Damage
Sometimes, despite your best efforts, your tent might suffer damage. Here are common issues and quick fixes:
- Holes in the Tent Fabric: Use a patch kit with repair tape to seal up any holes.
- Sticky Zippers: Apply lubricant to get those zippers moving smoothly again.
- Leaks in Seams: Use seam sealant to fix any leaks and keep your tent dry.
- Broken Tent Poles: You can splint broken poles using a pole repair sleeve or duct tape for a temporary fix.
If a pole breaks during setup, wrap duct tape tightly around the broken section. You can also create a splint using a tent stake or twig for added support. These quick fixes can save your camping trip from turning into a disaster.
Remember, regular inspections of your tent can help you catch issues early. By taking care of your tent, you ensure it lasts for many adventures to come!
Setting up a tent the right way needs some planning and practice. Keep these important steps in mind:
- Practice before your trip: Get to know how to set it up.
- Choose the right campsite: Find a flat spot that keeps you safe from bad weather.
- Follow the setup steps: Put down the footprint, build the poles, and make sure everything is tight.
- Use guylines: They help keep your tent steady when it’s windy.
With some effort, you’ll feel more confident and have fun camping. So, go out and practice setting up your tent!
